How to Set Up Your First Outdoor Sports Gear
Discover
We test so you don't have to
See our buying guides→My first camping trip was a disaster. I showed up with a heavy cotton sleeping bag, a flashlight that died in an hour, and zero clue how to stay warm. The sheer volume of outdoor gear on the market is exhausting to sort through. But getting the right basics together means the difference between actually enjoying the woods and spending the entire weekend miserable. I want to walk you through building a reliable starter kit.
Stop buying junk you don't need
Hauling cheap, bulky equipment up a trail is a quick way to ruin a weekend. Poorly chosen gear usually results in blisters, freezing nights, or eating cold beans out of a can. Having a dialed-in setup changes everything. You stay dry when it rains. You sleep through the night. You actually want to go back out the next weekend.
Building your starter kit
1. Figure out what you're actually doing
Be realistic about your plans. A weekend car camper needs totally different gear than a mountain biker or a backcountry hiker. Pin down your main activity before you buy a single item.
2. Write down your absolute non-negotiables
Make a physical list before walking into a store. Stick to the core categories:
- Wind and rain shelter: A reliable tent or tarp.
- Cold weather sleeping bags: Get one rated for your lowest expected temperature.
- Hot meal cooking equipment: A basic stove and fuel.
- Comfortable hydration gear: Bladders or easily accessible bottles.
- Fast drying clothing layers: Leave the heavy cotton hoodies at home.
- Battery-free navigation tools: A physical map and compass.
This step keeps you from blowing your budget on novelty camping gadgets you will never use.
3. Pick a reliable shelter
Your tent is your only defense against bugs and rain. Start with a simple, lightweight freestanding tent. Avoid those massive multi-room cabin tents unless you have a dedicated crew to help set them up.
4. Pay up for good insulation
Shivering at 3 AM will make you swear off camping forever. Buy a sleeping bag rated for at least ten degrees colder than the lowest temperature you expect. Pay attention to how small it packs down, especially if you plan to carry it on your back.
5. Sort out your camp kitchen
Eating dehydrated mush gets old fast. A basic portable stove is worth the trunk space. I regularly use the Coleman Triton+ 2-Burner Portable Propane Camping Stove. It has two adjustable burners that actually simmer instead of just blasting heat, which explains why it holds a 4.7-star rating.
6. Carry water comfortably
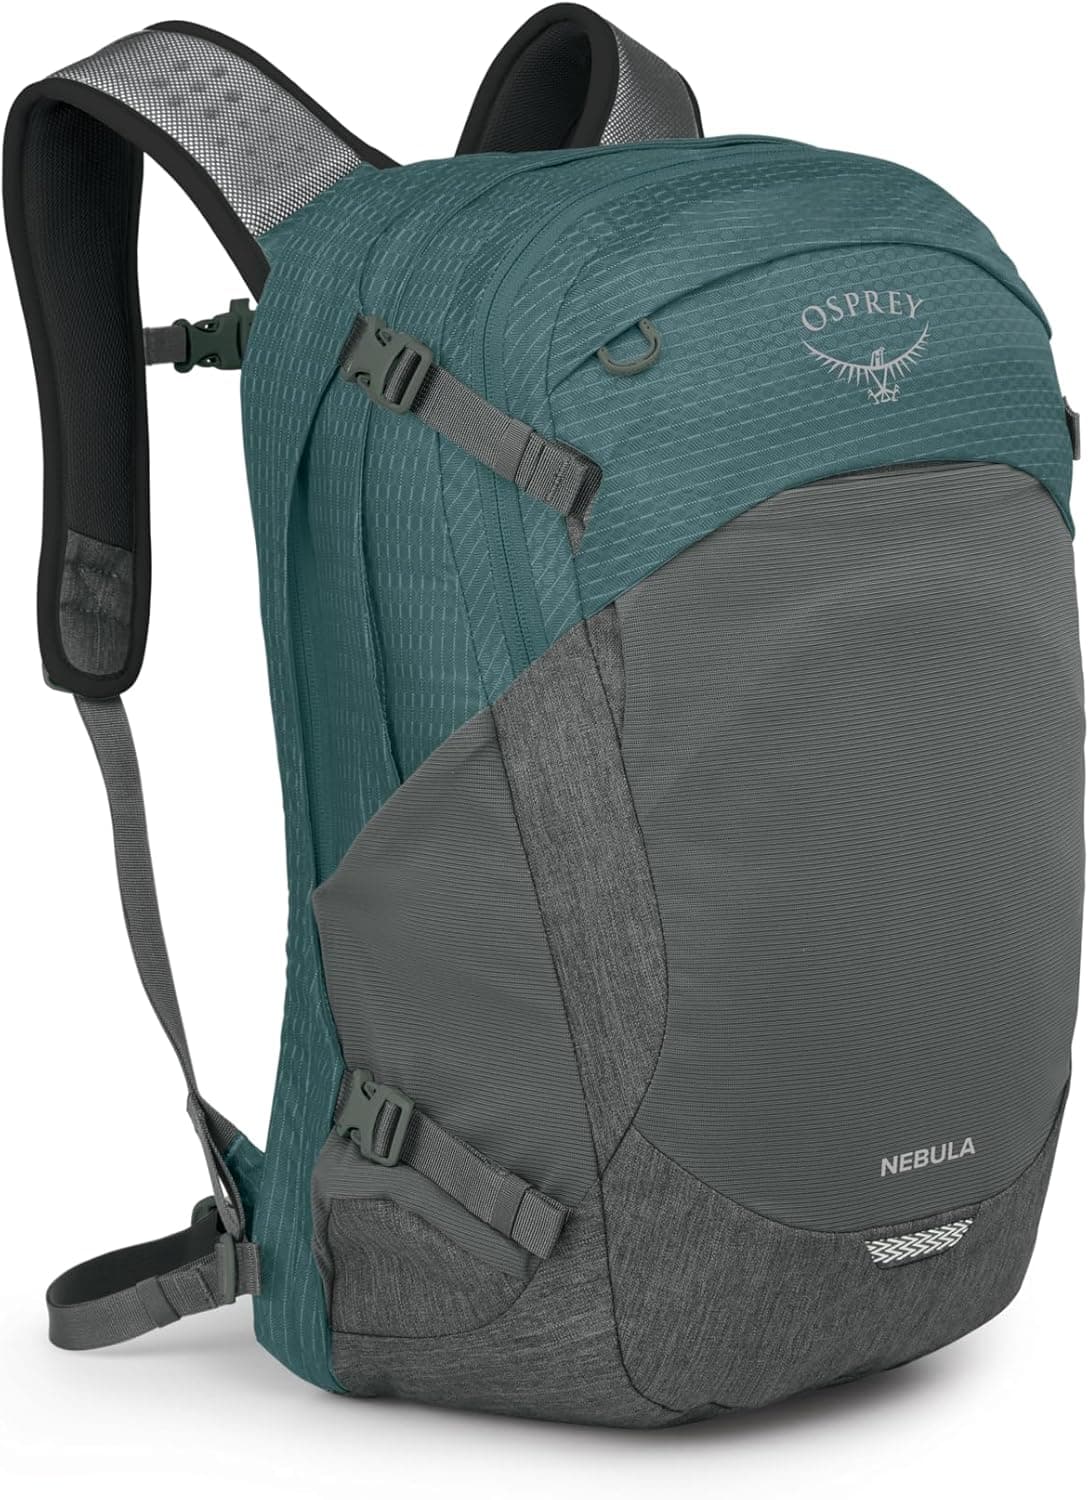
Water is heavy. Carrying it by hand or in a flimsy tote is awful. Grab a solid pack with a hydration sleeve. The Osprey Nebula Commuter Backpack works incredibly well for day hikes. It holds a reservoir securely and keeps the weight tight against your back.
7. Ditch the cotton clothes
Weather shifts fast on a trail. Dress in layers you can strip off easily. Focus on synthetic materials or merino wool that pull sweat away from your skin.
8. Get a dedicated headlamp
Holding a flashlight in your mouth while trying to pitch a tent in the dark is a rite of passage you should skip. You need hands-free lighting. The Nitecore NU20: Ultralight 360 Lumen Rechargeable Headlamp weighs almost nothing. It costs around 25 bucks and throws enough light to navigate rocky paths at dusk. That 4.8-star rating makes sense once you use it.
9. Organize your pack
Shoving everything loosely into a bag guarantees you will lose your matches. Use packing cubes for clothes and dry bags for anything that absolutely cannot get wet.
10. Do a dry run at home
Pitch your new tent in the living room. Fire up the stove on your patio. Discovering you are missing a crucial pole adapter is much easier to fix at home than fifty miles away from civilization.
Gear I actually use and trust
1. Nitecore NU20: Ultralight 360 Lumen Rechargeable Headlamp by Nitecore
This headlamp charges via USB, so I never have to hunt for AAA batteries. The beam is surprisingly bright for how small the unit is. It sits tight on my forehead without bouncing around during fast hikes.
2. Carhartt Insulated Lunch Box: Rugged Soft-Shell Cooler by Carhartt
Hard coolers take up way too much space. This soft-shell option takes a beating and keeps drinks cold all day. The heavy-duty canvas sheds dirt easily. That 4.8-star rating checks out after months of throwing it into the back of my truck.
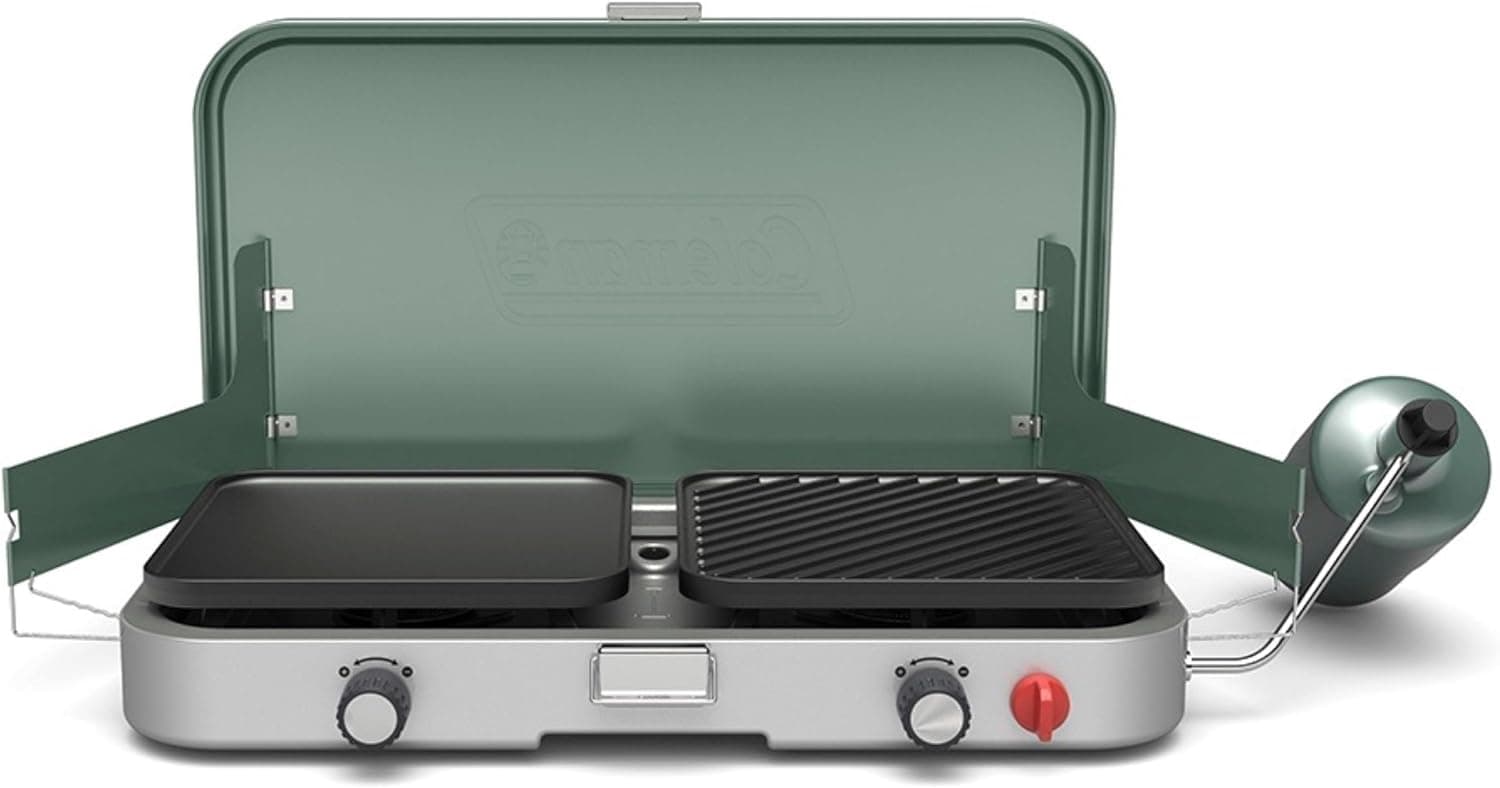
3. Coleman Cascade 3-in-1 Portable Camp Stove & Grill by Coleman
Sometimes you want pancakes, sometimes you want burgers. Pumping out 24,000 BTUs, this stove handles both. Swapping the grates takes seconds. It earns its 4.7 stars by being incredibly sturdy, though it is quite heavy for longer treks.
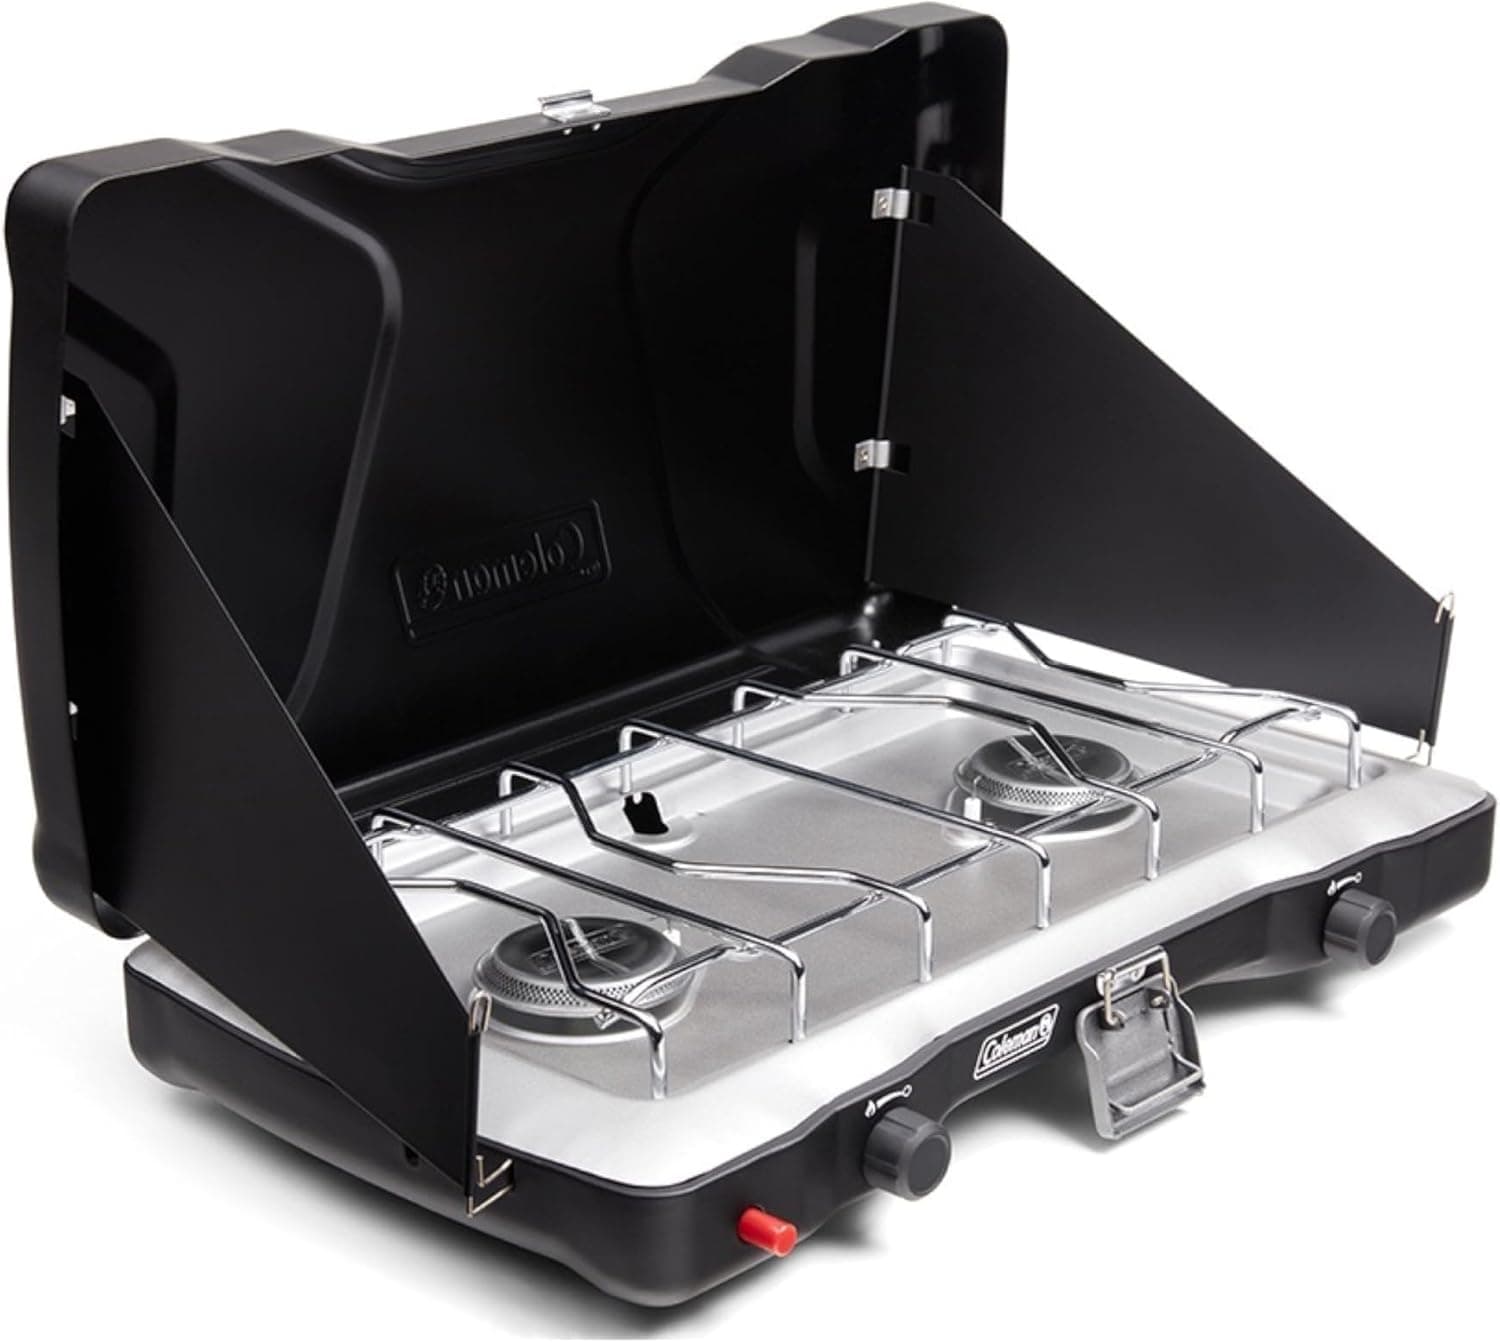
4. Coleman Triton+ 2-Burner Portable Propane Camping Stove by Coleman
My go-to for basic weekend trips. The wind guards actually block gusts from blowing out the flame. Setup takes under a minute, and wiping down the metal grate is quick.
5. Osprey Nebula Commuter Backpack
Osprey makes incredibly comfortable bags. This one easily transitions from a work commute to a weekend trail. The compartments keep smaller gear from settling at the bottom, and the hydration setup is solid.
How to avoid gear paralysis
Getting your kit together feels expensive and complicated at first. Start small, buy reliable pieces, and upgrade as you figure out what you actually need.
To recap:
- Target your specific activities: Avoid buying climbing gear for a walking trail.
- Focus on the big three: Spend your money on shelter, sleep systems, and a reliable stove.
- Keep water weight balanced: Use a proper hydration pack instead of carrying jugs.
- Do a backyard trial run: Never open a box for the first time at the campsite.
Grab your checklist, check current prices on Amazon for the recommended products above, and go get your boots dirty.
Discover